


You can replace a light fixture with a ceiling fan without rewiring if the ceiling box is UL-listed for fan support and the circuit has a switched hot, neutral, and equipment ground. You’ll need rewiring if you want separate wall controls for the fan and light, lack a safe ground or neutral, or need constant power for a remote receiver. Verify power is off, confirm blade clearance, and don’t mount a fan to a standard light box. Next, learn how to inspect the box, wiring, controls, and clearances safely.
Can You Install a Ceiling Fan Without Rewiring?
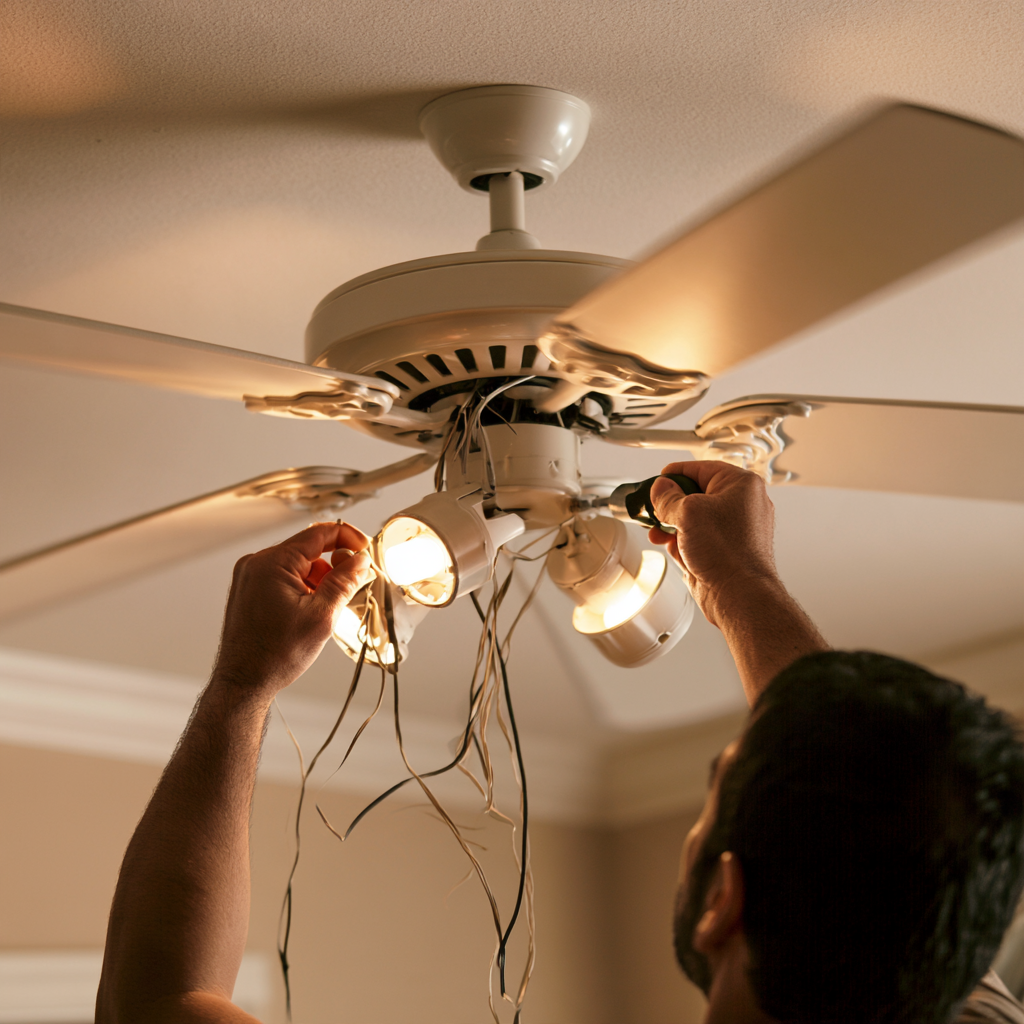
Yes—if you’re replacing an existing ceiling light, you can often install a ceiling fan without running new cable. The existing wiring commonly includes a switched hot, neutral, and grounding conductor, supplying what a standard fan requires. This approach works best when a single wall switch already energizes the ceiling location.
You can replace a light fixture without rewiring when you accept combined fan-and-light control through a pull chain, remote, or compatible single-wire smart controller. A remote receiver needs continuous power, so don’t switch it off at the wall unless the control system supports that use.
You may need new wiring for independent wall control of fan speed and lighting, or if conductors lack a reliable neutral or ground. Verify every connection meets code and use a fan-rated electrical box secured to structural framing.
Check Whether the Ceiling Box Is Fan-Rated
Before installing the fan, remove the old light fixture and inspect the label inside the ceiling box. Look for a UL listing and wording such as “Acceptable for Fan Support.” A standard light box may hold a fixture safely, yet it isn’t engineered for the vibration, torque, and dynamic load a ceiling fan needs.
Don’t assume an older ceiling fan or existing connection points prove the box is suitable. Likewise, wiring already in place doesn’t determine structural capacity. Fan-rated boxes typically use a braced fan box secured to two joists or a listed brace spanning joists. If no fan-rated marking appears, replace the box with a listed fan-support assembly before mounting the fan. Never test a suspect box by hanging weight from it; motion creates stresses that static testing can’t replicate.
Inspect Existing Light-Fixture Wiring
Turn off the breaker and verify the ceiling conductors are de-energized with a non-contact voltage tester before you remove the fixture. Identify the switched hot, neutral, and equipment ground, then confirm the wall switch controls the intended hot conductor. If you find damaged insulation, aluminum, or obsolete wiring, stop and have a qualified electrician assess it.
Identify Available Conductors
With the breaker locked off and the old fixture removed, inspect the ceiling box for a switched hot conductor (often black), a neutral (white), and an equipment ground (bare copper or green). At the Junction Box, verify conductor condition before you install a ceiling fan. A neutral wire is essential for many smart receivers and remote-control systems. Confirm the identified switched hot changes state with the wall switch; don’t mistake a constant hot for switch-controlled power.
Locate and assess the ground wire, including its connection to the metal box where applicable. If grounding is absent, damaged, or improvised, stop and consult a qualified electrician. In older homes, brittle insulation, nicked copper, or deteriorated splices can make an otherwise simple upgrade unsafe. Don’t assume a fan-rated box or modern wiring practices are present; document what you find before proceeding.
Check Switch Control Configuration
A safe fan installation starts by checking how the existing wall switch controls the ceiling wiring. Turn off the breaker, then verify every ceiling conductor is dead with a voltage tester before removing the existing light. A typical ceiling light circuit has one switched black hot, a white neutral, and a bare or green ground. That arrangement can power a Ceiling fan without new cable runs.
Determine whether the switch provides only switched power or whether constant power is available. Remote receivers often need an always-hot feed to preserve smart control functions. With one switched hot, choose fan/light wall controls or a compatible receiver that manages both loads together. You won’t have separate switches unless the box contains dedicated conductors. If you find multiple hots, missing neutrals, or no ground, stop and confirm the configuration before installation.
Choose Ceiling Fan and Light Controls
If your ceiling box has only one switched hot, choose a fan/light control rated to operate safely on a single-switch circuit. Standard remote receivers need constant power, while one-switch smart controls can provide wall operation without adding separate fan and light conductors. Don’t use a standard dimmer; install only fan-rated speed and light controls listed for your fan.
Single-Switch Control Options
Which control option fits your existing single switched-hot conductor determines how you’ll operate the new fan and light. Verify that the ceiling box is fan-rated, securely grounded, and approved for the fan’s weight before connecting anything. A pull chain model provides straightforward single-switch control: the wall switch energizes the unit, while chains select fan speed and light operation. It’s a practical upgrade from ordinary light fixtures, but it doesn’t offer remote control or app features.
For a more connected room, choose a remote-controlled fan designed to operate from the existing switched hot. You’ll typically keep the wall switch on and use the handheld control for the fan and light. Alternatively, a compatible single-wire smart wall control can independently manage fan speed and lighting through the same circuit. Confirm the fan’s specified control method before purchase and installation.
Remote Receiver Considerations
Remote-controlled ceiling fans usually need constant hot and neutral at the ceiling box so the receiver inside the canopy can remain powered. Before you install the Fixture, verify that the box is fan-rated and can Support the fan’s weight and vibration. Many older light circuits provide neutral plus a switched hot, so shutting off the wall switch also disables the receiver and your remote control won’t respond until power returns.
Choose a Ceiling Fans vs. light-fixture replacement kit that specifies compatibility with your available conductors and receiver requirements. Confirm the receiver fits inside the canopy without pinching conductors or exceeding box-fill limits. De-energize the circuit, test for absence of voltage, and follow the manufacturer’s wiring diagram exactly. A listed receiver routes dedicated outputs to the motor and light kit, enabling responsive, modern control while preserving safe operation.
Separate Fan-Light Switching
How you control the fan and light depends on the conductors available at the ceiling box. For true two-switch wall switching, you need two independently switched hots: one for fan speed and one for the light. Inspect wiring behind the old ceiling fixture for hot, neutral, ground, and a second switched conductor before selecting controls. With only one hot, a conventional ceiling fan and light with a fan kit can’t operate independently from separate wall switches reliably.
Instead, use pull chains, a receiver remote, or an approved single-wire smart control that provides independent speed and dimming functions over the existing circuit. Keep the wall switch ON when a receiver needs constant power; switching it OFF disables remote operation. Don’t improvise connections—follow manufacturer instructions and applicable electrical code.
Check Ceiling Fan Height and Blade Clearance
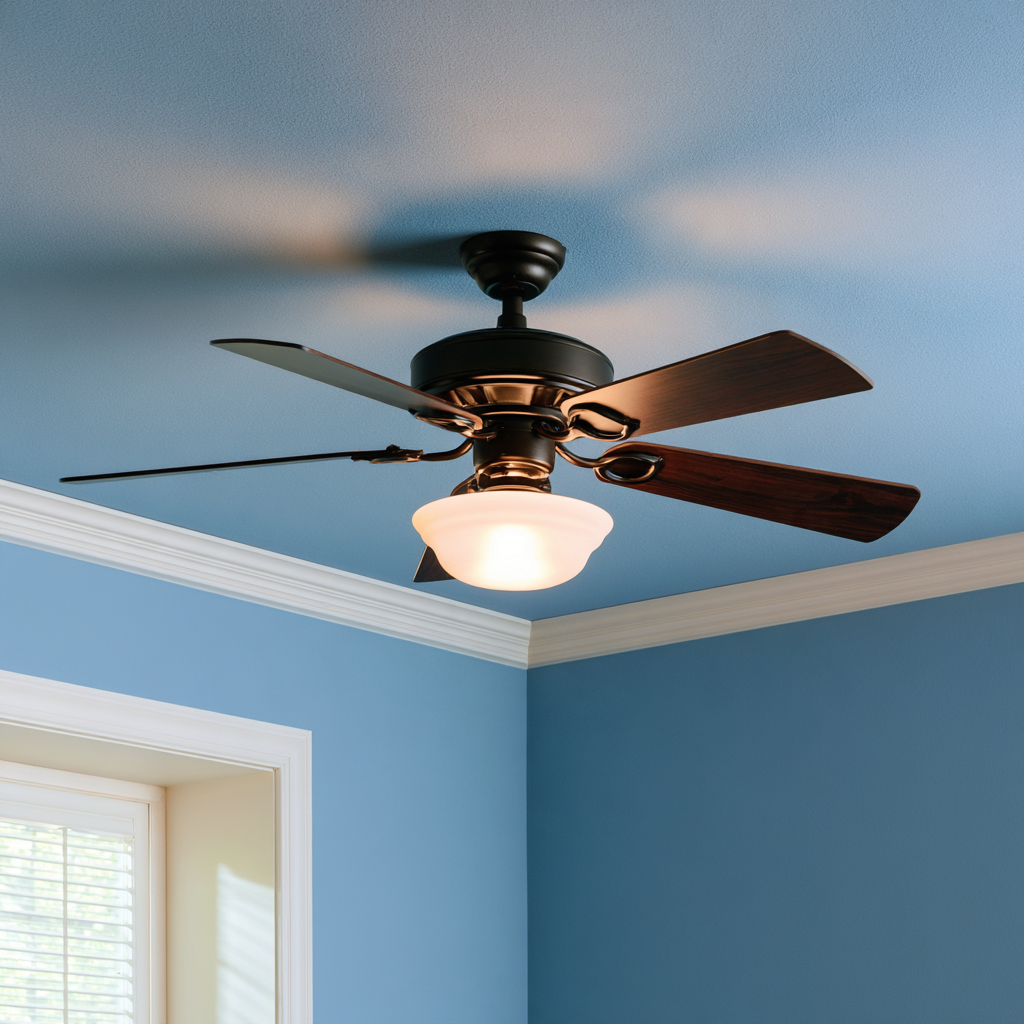
Before installing the fan, measure from the finished floor to the planned blade height and confirm at least 7 feet of clearance below the blades. This ceiling fan height supports safer circulation and code-conscious placement.
- Choose a flush-mount fan for a low Ceiling.
- Use a downrod in tall rooms to position fans effectively.
- Match blade span to room size for balanced airflow.
- Keep blades clear of beams and nearby fixtures.
- Verify vibration won’t contact the simple light or light box.
A properly sized fan reduces warm spots without creating wobble hazards. If you’re retaining a separate wall control, confirm its location won’t interfere with operation. Don’t assume the existing light box location guarantees adequate clearance; map the blade sweep before installation. Smart fan selection lets you improve comfort while preserving safe geometry.
Replace the Box Before Installing the Fan
A ceiling fan needs a UL-listed fan-rated electrical box, not the standard box that supported your light fixture. Its electrical box needs secure joist attachment or a listed brace bar spanning two joists to support the weight and continuous vibration of the fan.
After removing the light, inspect the box for “Acceptable for Fan Support” labeling. It should be inspected first for looseness, damaged fasteners, or movement; don’t rely on a single-point light-fixture mount. If the existing box lacks the correct rating or bracing, replace the box before installing the fan bracket. A modern adjustable brace-bar system can provide a precise, code-aligned upgrade without disturbing more ceiling material than necessary. Don’t assume a fuse box or old wiring changes the mounting requirement: the fan’s mechanical support must be independently secure.
Know When You Need Rewiring or an Electrician
You can usually install a ceiling fan without new wiring when the ceiling box contains a switched black hot, white neutral, and bare or green grounding conductor—but verify each connection with a tester after shutting off the breaker. When replacing a light fixture, seek professional help if you encounter:
- No grounding conductor or an unknown power source
- Knob-and-tube wiring or suspected common-neutral problems
- A box that isn’t fan-rated, UL-listed, and structurally braced
- Only one switched hot when you want independent fan/light control
- Conditions you can’t find or confirm from the attic opening
Have the setup inspected first if you can’t verify attachment to two joists. An electrician can upgrade wiring, correct the neutral (white) connection, and specify a compatible smart single-wire control. Don’t energize questionable circuits.
Avoid Common Ceiling Fan Installation Mistakes
Even with existing wiring, installation mistakes can create serious safety and performance problems. To avoid common failures when you replace a Fixture With a Ceiling fan, inspect the box and connections before energizing the circuit. Never hang a fan from a standard light box; install a fan-rated box labeled for fan support or use a brace secured to joists. Confirm blade clearance: keep blades at least 7 feet above the floor and allow adequate space below the ceiling for efficient airflow.
Don’t connect the motor to a non-rated dimmer. Use a fan-compatible control, including an approved smart switch for voice control. After you’ve got one installed in your living room, tighten all hardware and balance the blades. Persistent wobble signals imbalance or inadequate support, which can damage connections over time.
Frequently Asked Questions
Can You Replace a Regular Light Fixture With a Ceiling Fan?
Yes, you can replace a regular light fixture with a ceiling fan if your wiring is compatible with existing controls and power needs. Prioritize weight considerations and ceiling box safety: install a UL-listed fan-rated box secured to framing. Use approved fan mounting brackets, verify switch compatibility, and optimize airflow placement. Complete electrical code checks, inspect grounding and wire condition, and hire a licensed electrician when the box or wiring isn’t confirmed safe.
Is It Okay to Install a Ceiling Fan That Has a Light Without Wiring the Light?
Yes—you can leave the light unwired, but don’t create a galaxy of loose conductors. Cap the fan light lead with an approved connector, follow the manufacturer diagram, and complete wiring safety checks. Ensure code compliance, use listed ceiling fan brackets, and maintain required mounting height. Your fan light switch won’t operate the unused light; use pull chain control or fan remote options for the motor. Turn power off before work.
Are There Ceiling Fans That Don’t Need Wiring?
No hardwire models are rare. You’ll find battery powered options and remote only fans, but wireless power doesn’t reliably run a full-size fan. Plug in ceiling products and ceiling fan adapters can use an existing ceiling receptacle, not eliminate electrical supply. Check installation limitations, including box rating, grounding, load capacity, and local code. For safe, innovative operation, you still need an approved power source and manufacturer-listed mounting method.
Can I Install a Ceiling Fan in an Existing Light Fixture?
Yes, you can install a ceiling fan where a light fixture sits if the installation meets fan-support and electrical requirements. Check mounting options, match ceiling box to a UL-listed fan-rated model, and verify electrical capacity. Assess fan weight, confirm fan rated wiring, and consider bracket stability before mounting. Review code compliance, shut off power, test conductors, and use a compatible control system for reliable, modern operation.
Conclusion
You can replace a light fixture with a ceiling fan without rewiring if the existing circuit, switch, and ceiling box meet the fan’s electrical and support requirements. Verify that the box is fan-rated, securely fastened, and grounded before installation. Confirm blade clearance and mounting height, then follow the manufacturer’s instructions and local code. Don’t hang a fan from a standard light box—like Icarus, it may fall when overloaded. If wiring is damaged or uncertain, call a licensed electrician.


