


To estimate how many recessed lights you need, multiply your room’s length by width, then set a lumen target based on its use. Space fixtures about half your ceiling height apart, with the first row roughly half that distance from walls. Adjust the layout for cabinets, islands, desks, seating, and dark finishes. Choose dimmable LED trims with suitable beam angles and avoid rigid grids, glare, and obstructions. The details below help you refine the plan.
Calculate How Many Recessed Lights You Need
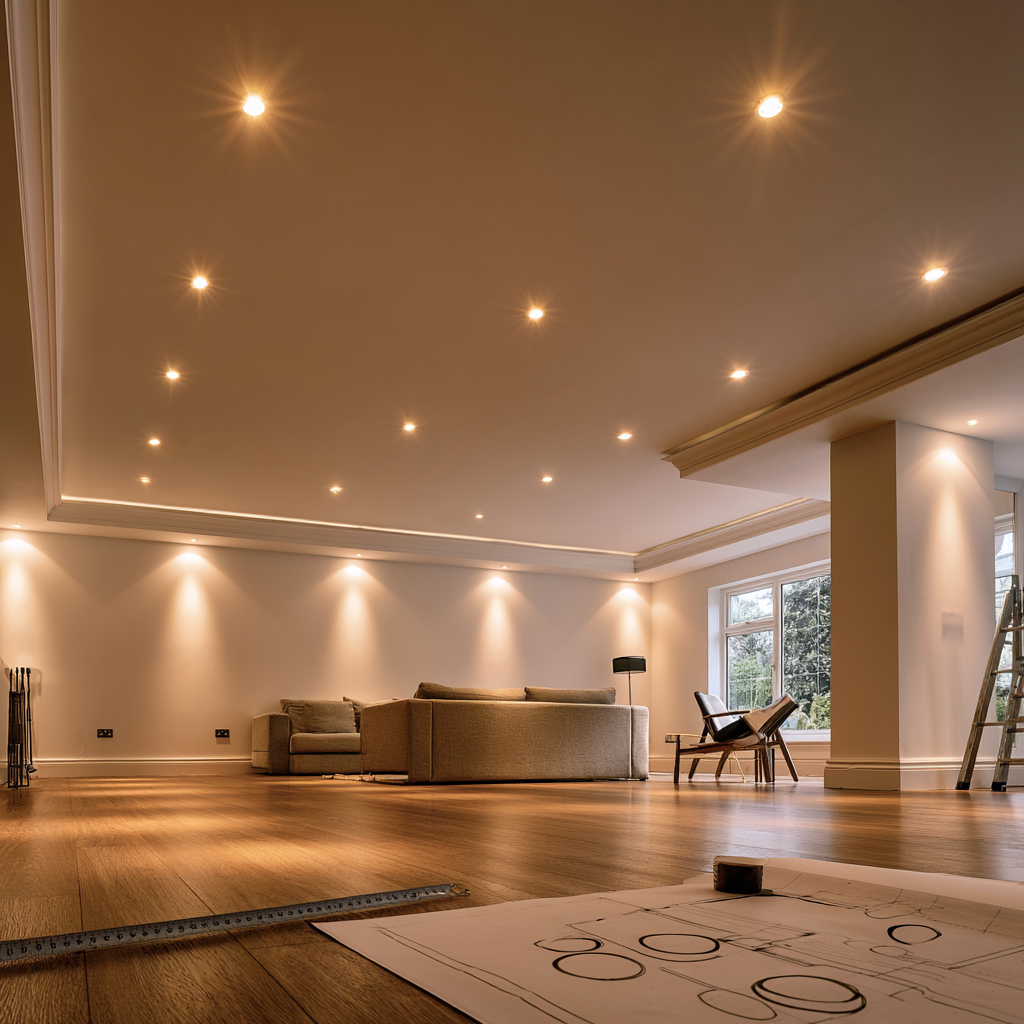
Start by calculating the room’s square footage: multiply its length by its width. This baseline helps you estimate how many recessed lighting fixtures can cover the space evenly without creating dark zones or excessive overlap. Next, consider ceiling height, room shape, furniture placement, and task areas. Higher ceilings generally require tighter fixture spacing or higher-output LEDs, while long, narrow rooms may need multiple aligned rows. Use a preliminary spacing rule: position cans about half the ceiling height apart, then adjust around cabinets, islands, artwork, and circulation paths. Keep fixtures away from walls unless you’re intentionally washing a surface with light. Smart controls and adjustable trims add flexibility, letting you refine output after installation. Treat lumen targets as a design input, not the only calculation, because beam spread and surface reflectance also affect perceived brightness.
Set Your Room’s Lumen Target
Your lumen target defines how much usable light the room needs before you choose fixture count or output. To set your room’s target, multiply its square footage by the recommended foot-candle range for its task level. Bedrooms often need 10–20 foot-candles, living rooms 10–30, kitchens 30–50, and detailed work areas 50 or more. The result gives you the total lumens your lighting system should deliver.
Adjust for dark finishes, limited daylight, aging eyes, or high-contrast tasks; each can increase the practical target. Then compare the required lumens with the rated output of your selected LED trims. This lets you calculate how many recessed lights can meet the target without overlighting the space. Choose dimmable, high-efficacy LEDs so you gain adaptable output, lower energy use, and smarter control over changing activities.
Space Recessed Lights for Ceiling Height
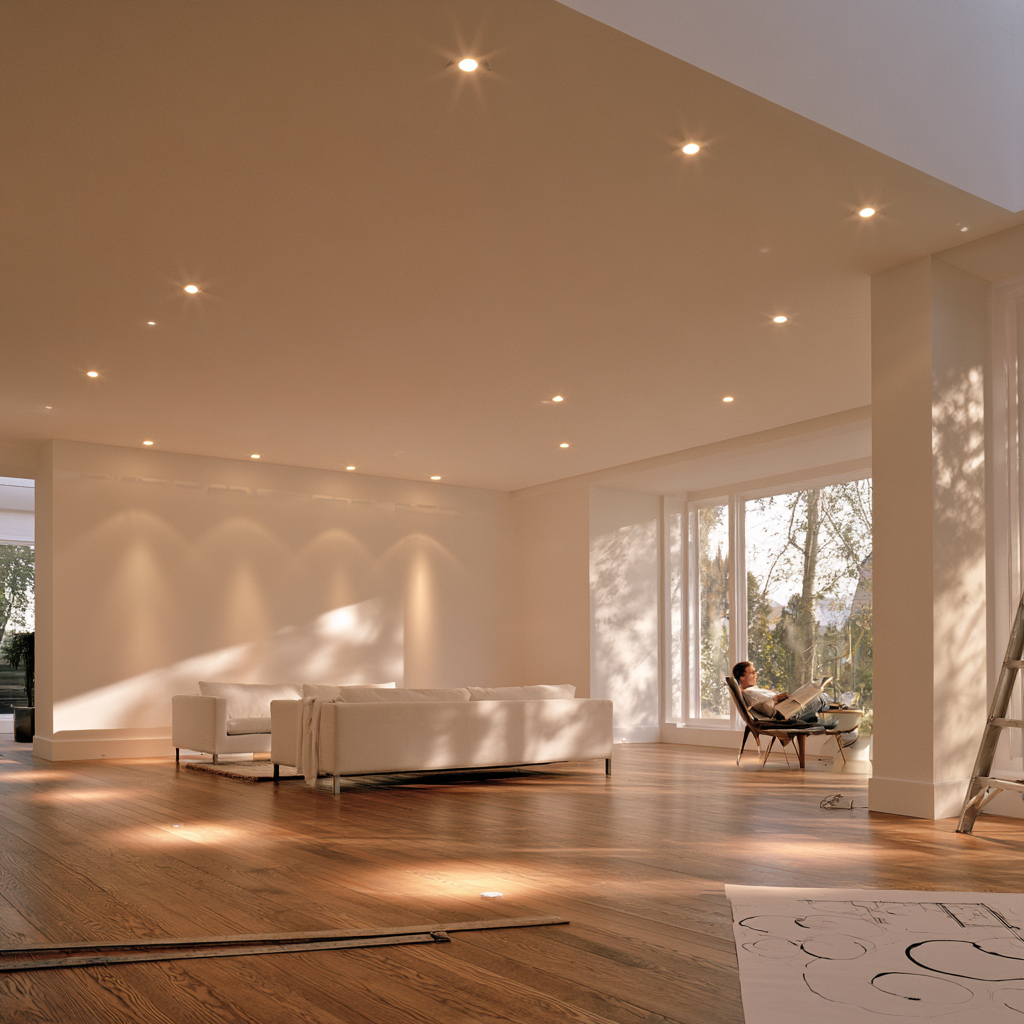
After you calculate the lumen target, use ceiling height to set fixture spacing and avoid dark gaps or harsh pools of light. A practical starting rule is to space recessed lights about half the ceiling height apart. With an 8-foot ceiling, place fixtures roughly 4 feet apart; with a 10-foot ceiling, extend spacing toward 5 feet. Measure from light center to light center, then keep the first row about half that distance from walls.
Higher ceilings spread light over a larger area, so you may need tighter spacing, higher-output LED modules, or wider beam angles to maintain uniform illumination. Check each fixture’s photometric data rather than relying only on diameter. Beam spread, lumen output, trim design, and surface reflectance all affect coverage. This approach improves space efficiency while creating a clean, scalable lighting grid.
Place Recessed Lights for Room Activities
Room activities should guide the final placement of recessed lights, since ambient coverage alone won’t provide effective task lighting. Map where you prep food, read, work, apply makeup, or play games, then aim fixtures at those functional zones. In kitchens, position adjustable recessed lights over counters and islands to reduce shadows from your body. At desks or craft tables, use focused beams with appropriate lumen output and a high color-rendering index for accurate detail and color perception. In living rooms, layer wider-beam fixtures around seating areas for flexible circulation and conversation. Dimmers and smart controls let you tune brightness by time, task, or scene without changing the layout. Treat this subtopic idea as a performance plan, not a nonrelated concept: every fixture should support how you use the room daily.
Avoid Common Recessed Lighting Layout Mistakes
A task-based lighting plan still fails if fixture spacing, beam spread, or mounting conditions create glare, dark zones, or uneven brightness. Don’t place every can on a rigid grid without checking ceiling height, furniture, cabinets, and wall locations. Match beam angle to mounting distance so light fields overlap gently rather than creating scallops or hot spots. Keep fixtures away from ceiling fans, ducts, and joists, and verify clearance ratings for insulation to support lighting safety.
For glare reduction, avoid aiming high-output trims directly into seated sightlines or reflective counters. Use recessed, baffled, or adjustable trims where you need controlled output. Don’t rely on downlights alone: layer under-cabinet, wall-wash, or decorative lighting to improve visual comfort. Finally, put zones on dimmers or smart controls, so you can tune brightness for changing tasks and daylight conditions.
Frequently Asked Questions
Are Recessed Lights Safe to Install in Insulated Ceilings?
Yes, you can safely install recessed lights in insulated ceilings when you choose IC-rated fixtures designed for direct insulation contact. Verify insulation compatibility, follow manufacturer clearance requirements, and use airtight housings to reduce heat loss and moisture movement. Prioritize housing safety by checking wiring, junction-box access, and local electrical codes. LED retrofit modules minimize heat output and energy use. If your ceiling contains spray foam or unusual insulation, consult a licensed electrician before installation.
Can Recessed Lighting Be Controlled With a Smart Dimmer?
Yes, you can control recessed lighting with a smart dimmer, turning your ceiling into a responsive lighting canvas. Choose LED-compatible dimmers matched to your fixtures’ voltage, load range, and dimming protocol. You’ll gain scheduling, voice commands, scene control, and wireless integration with home platforms. Verify neutral-wire requirements, Wi‑Fi or hub compatibility, and multiway-switch support before installation. For best performance, use dimmable LEDs and follow manufacturer compatibility lists.
What Trim Styles Work Best for Recessed Lights?
You’ll get the best results by matching trim styles to your recessed lighting design and room function. Use baffle trims to reduce glare in living areas, reflector trims to maximize brightness in kitchens, and adjustable gimbal trims to highlight art or architectural features. Choose shower-rated trims for wet locations, and consider ultra-thin, regressed trims for a cleaner, low-glare modern look. Smart-compatible LED trims also support adaptive scenes and efficient control.
Do LED Recessed Lights Require Special Housing?
LED recessed lights don’t always require special housing, but you must match the fixture to its installation. Retrofit LED modules fit many existing cans, while integrated LED fixtures often include their own housing. Choose IC-rated LED housing when insulation contacts the fixture, and use airtight models to reduce heat loss. Confirm dimmer compatibility; some LEDs need an LED-rated or Trad dimmer to prevent flicker, buzzing, or limited dimming range.
How Long Do Recessed LED Lights Typically Last?
Recessed LED lights typically last 25,000 to 50,000 hours, or roughly 10 to 20 years with average household use. You’ll get the best lifespan when you use compatible dimmers, maintain proper ventilation, and choose quality drivers and housings. Heat, voltage fluctuations, and poor installation can shorten performance. Two word discussion ideas, Subtopic irrelevant, don’t affect durability; focus on rated life, warranty coverage, and replaceable components.
Conclusion
Your recessed lighting plan works best when you treat each fixture like a waypoint, not a shortcut. Calculate lumens, match spacing to ceiling height, and aim light where you cook, read, work, or gather. Too few lights leave shadows; too many create glare and wasted energy. By balancing output, placement, and purpose, you build a room that feels clear and usable—like a well-marked path that guides every step without overwhelming the journey.


