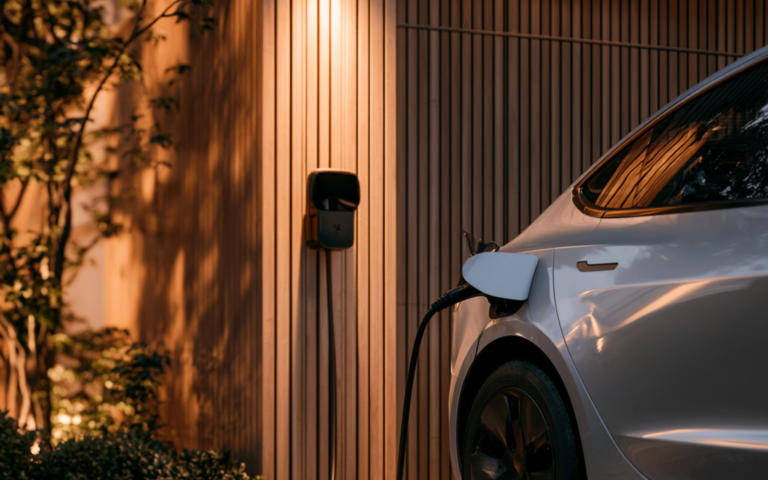
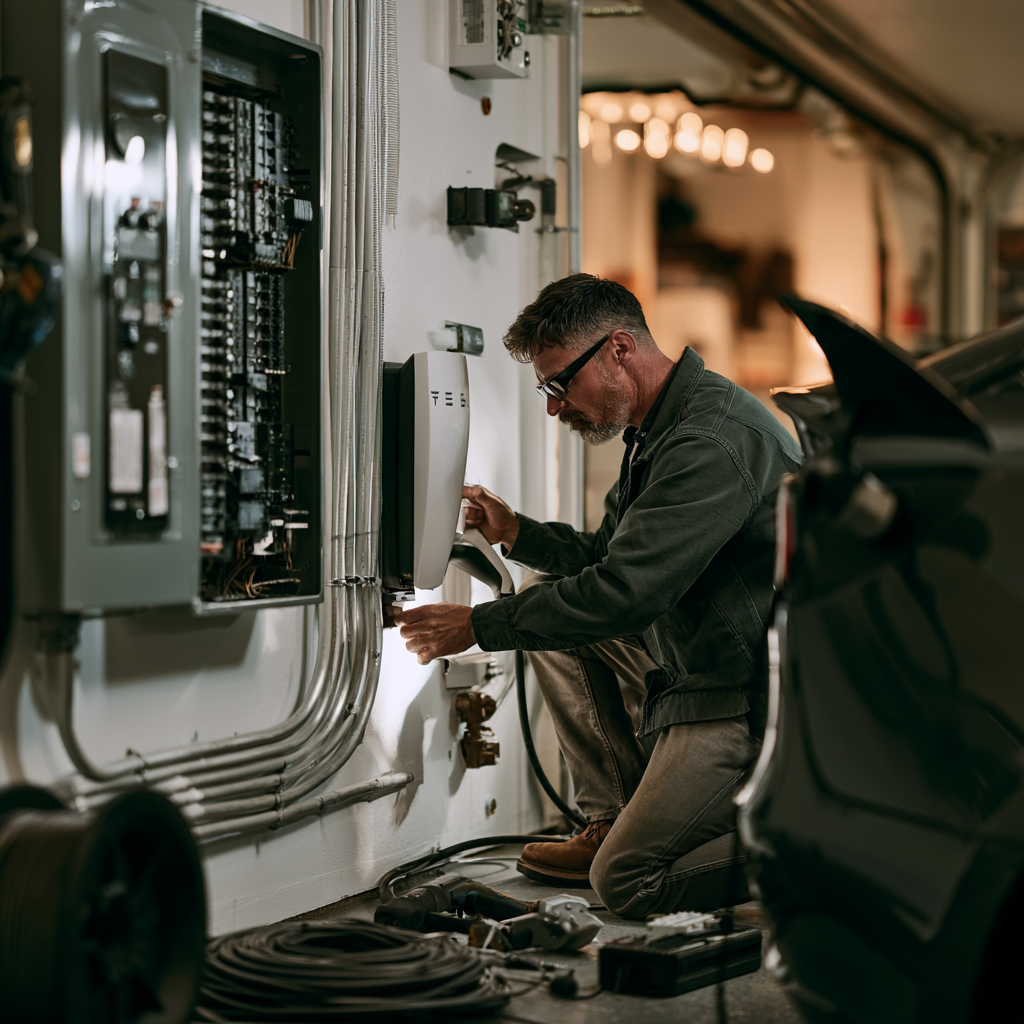
You’ll need a dedicated 240-volt circuit for a Tesla Wall Connector, sized as a continuous load at 125% of its configured charging current. A licensed electrician should perform a code-required load calculation, confirm panel capacity and two-pole breaker space, inspect grounding and wiring, and obtain local permits. A 48-amp setting commonly needs a 60-amp circuit. If capacity is limited, a subpanel, service upgrade, or load management may help. Next, learn what EV charger installation and inspection involve.
Can Your Home Support a Tesla Wall Connector?
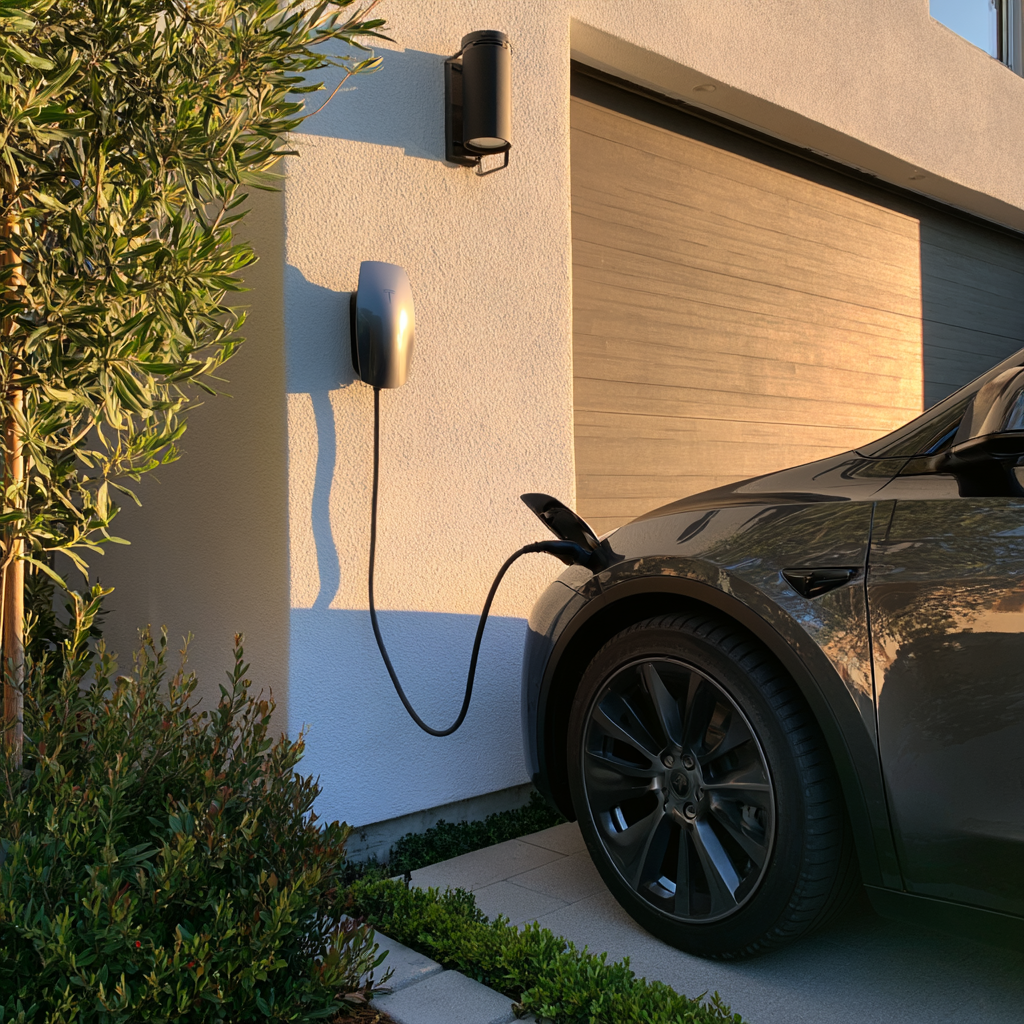
Before you install a Tesla Wall Connector, verify that your home’s electrical service, panel capacity, and wiring can safely support the added continuous load. A licensed electrician should perform a load calculation under applicable electrical codes, accounting for existing HVAC, cooking, water-heating, and other major demands. You’ll also need to inspect the service equipment for corrosion, overheating, obsolete components, or insufficient physical space for new protective devices. Older homes may require panel upgrades, service modernization, or wiring improvements before charging an electric vehicle reliably. Confirm that grounding and bonding meet current standards, and ensure the installation location supports safe cable routing and weather protection where needed. A professional assessment protects your home electrical system, helps prevent nuisance tripping or thermal damage, and creates a scalable foundation for future energy technologies, including solar, storage, and smart-load management.
Tesla Wall Connector Power and Circuit Requirements
A Tesla Wall Connector requires a dedicated 240-volt branch circuit sized for the charger’s configured output and treated as a continuous load under applicable electrical code. You must size conductors and overcurrent protection at 125 percent of the maximum continuous charging current. For example, a 48-amp setting typically requires a 60-amp breaker and appropriately rated copper conductors, installed to local code and manufacturer instructions.
Your electrician should configure the Wall Connector to match the circuit rating, verify grounding and bonding, and use listed wiring methods suitable for the installation environment. Don’t place the unit where physical damage, moisture, or inadequate working clearance could compromise safety. Smart charging features can complement solar generation, battery storage, and energy-management systems. Plan disposal considerations for packaging, removed electrical materials, and any obsolete charging equipment through approved recycling channels.
Panel Capacity and Breaker Space for EV Charging
Even with a correctly sized Wall Connector circuit, your electrical panel must have sufficient calculated load capacity and physical breaker space to support it safely. A licensed electrician should perform a load calculation under applicable electrical code, accounting for HVAC equipment, electric cooking, water heating, dryers, and other continuous or demand loads. Don’t rely solely on the panel’s main-breaker rating; actual panel capacity depends on calculated demand and service conductors.
You also need dedicated breaker space for a new two-pole breaker. Confirm the panel accepts the breaker type specified by its manufacturer, and never use incompatible or unapproved tandem breakers to create room. If capacity or space is limited, your electrician may recommend a service upgrade, subpanel, or approved energy-management equipment. These solutions can modernize your home while preserving code compliance, reliability, and future electrification readiness.
Tesla Wall Connector Amperage and Charging Speed
Charging speed depends on the Wall Connector’s commissioned output, the dedicated circuit rating, and your Tesla’s onboard AC charging limit. You’ll get the best results when these values align without exceeding Home capacity or creating unsafe electrical demand.
- A 60-amp circuit typically supports a 48-amp Wall Connector setting under the continuous-load rule.
- A 50-amp circuit supports a maximum 40-amp charging setting, provided the installation meets applicable code.
- Your vehicle may accept less Tesla amperage than the connector can deliver, which limits charging speed.
The Wall Connector’s commissioning process lets you set the correct current limit for the installed circuit. Don’t increase amperage to chase faster charging; higher output requires verified load calculations and properly rated protective equipment. A licensed electrician can confirm your system supports reliable, code-compliant overnight charging while preserving capacity for essential household loads.
Wiring, Conduit, and Mounting Requirements
You’ll size circuit conductors and overcurrent protection for the Wall Connector’s configured load and applicable electrical code. Route conduit to protect wiring from damage, limit bends, and maintain required clearances. Mount the unit on a structurally sound wall at a safe, accessible height that supports proper cable reach.
Circuit Wiring Requirements
A Tesla Wall Connector requires a dedicated branch circuit sized to the unit’s configured output and the applicable electrical code. Because EV charging is a continuous load, you’ll typically size conductors and overcurrent protection at 125% of the configured charging current. Your licensed electrician should verify panel capacity, conductor ampacity, terminal ratings, and local amendments before energizing the system.
Key circuit requirements include:
- A correctly rated two-pole breaker with no shared loads
- Copper conductors sized for the breaker, temperature rating, and installation method
- A listed disconnect where required by your authority having jurisdiction
Don’t exceed the Wall Connector’s configured amperage or breaker rating. Secure all terminations to Tesla’s specified torque values, label the circuit clearly, and complete required inspections. Coordinate installation timing and permit timing early so your high-performance charging upgrade stays compliant.
Conduit Routing Considerations
Plan the conduit route before mounting the Tesla Wall Connector so it protects conductors, supports code-compliant bends and pull access, and keeps the installation clear of physical damage, moisture, and excessive heat. Your conduit routing should follow applicable NEC requirements, local amendments, and manufacturer instructions. Use listed conduit, fittings, straps, and junction boxes sized for conductor fill and future serviceability. Minimize bends, avoid sharp offsets, and provide accessible pull points where long runs or directional changes require them. Maintain required separation from plumbing, gas piping, and heat-producing equipment. For outdoor sections, use weather-rated materials, sealed fittings, and expansion provisions where needed. Route conduit where vehicles, tools, or landscaping won’t strike it. Thoughtful cable management reduces strain, prevents abrasion, and creates a clean, scalable charging infrastructure that supports safe upgrades.
Wall Mounting Placement
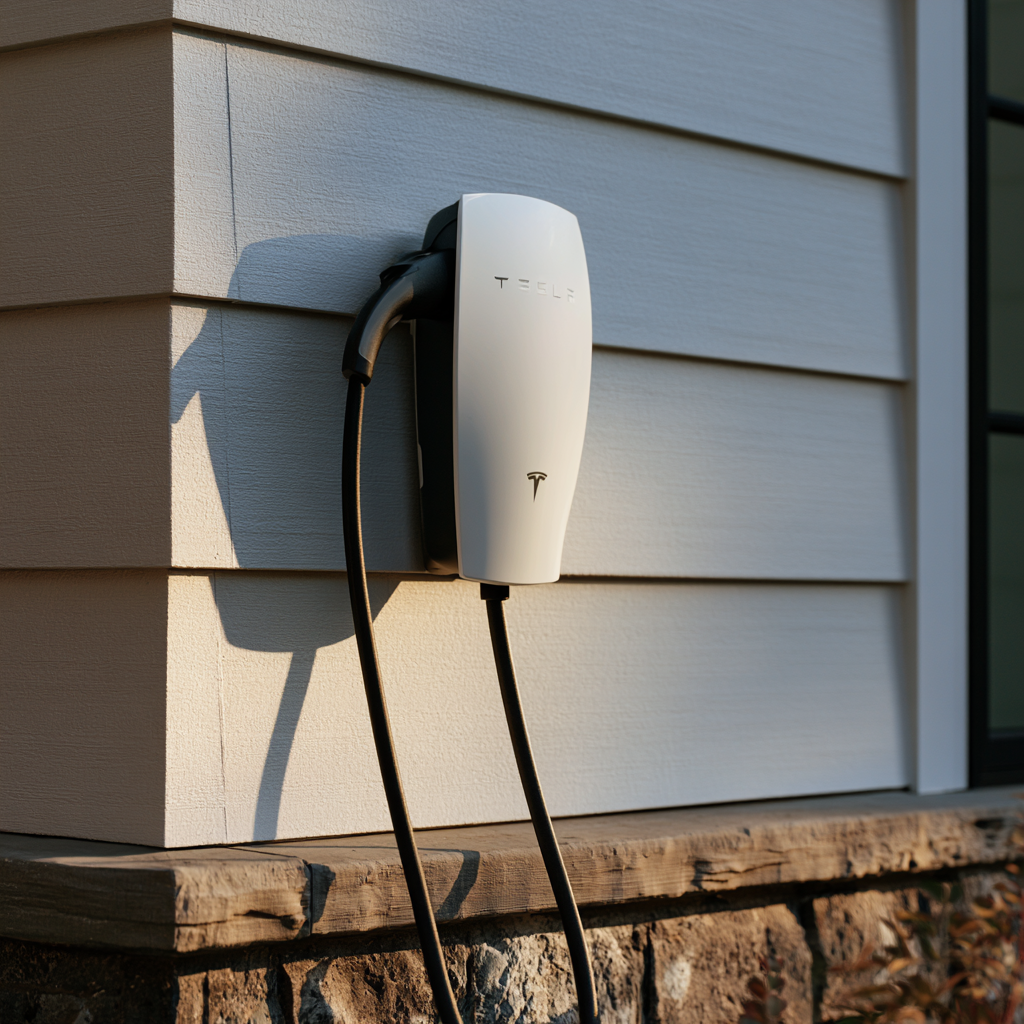
Where you mount the Tesla Wall Connector affects conductor entry, conduit support, working clearances, and safe daily use. Choose a location that keeps the charge cable off walkways, reaches your vehicle’s port without tension, and protects the unit from impact. Verify wall thickness and framing before drilling; the enclosure must anchor to a structurally sound surface, not drywall alone.
- Install mounting hardware rated for the wall material and charger load.
- Support conduit within code-required intervals and align it with approved entry points.
- Maintain required electrical-panel and equipment working clearances around the installation.
You’ll also need a mounting height that supports accessible operation and prevents connector strain. Seal exterior penetrations against moisture, use listed fittings, and avoid areas exposed to direct vehicle contact. A licensed electrician can confirm local code, Tesla specifications, and permit requirements before energizing the circuit.
When You Need an Electrical Panel Upgrade
You may need an electrical panel upgrade before installing a Tesla Wall Connector if your existing service lacks sufficient load capacity, has no available breaker space, or uses obsolete equipment. A qualified electrician should calculate your home’s demand load, including HVAC, appliances, solar, battery storage, and the proposed continuous EV charging load. Because charging typically runs for hours, the circuit and service must support the required continuous-load sizing without overheating conductors or overloading equipment.
You might need a larger service, a new load center, or a subpanel when your main breaker is undersized, breakers are crowded, or the panel shows corrosion, damage, or recalled components. Smart load-management equipment can sometimes avoid a full upgrade by dynamically limiting charging during peak demand. An unrelated topic or off topic shortcut won’t solve capacity concerns; prioritize verified electrical performance and safe, reliable future expansion.
Tesla Wall Connector Permits and Local Codes
Permit requirements for a Tesla Wall Connector vary by city, county, and utility jurisdiction, so you’ll need to verify local rules before installation. Your installation must comply with the locally adopted electrical code, including circuit sizing, GFCI protection, wiring methods, and equipment listing requirements. Obtain required permits and schedule inspections to confirm the work meets safety and code standards.
Permit Requirements By Location
Although requirements vary by jurisdiction, most U.S. locations require an electrical permit and inspection before a Tesla Wall Connector is energized. You should confirm requirements with your city, county, or state authority having jurisdiction (AHJ) before scheduling installation. Rules can differ for detached garages, multifamily properties, historic districts, and utility-served upgrades.
Permit applications commonly require:
- A site plan showing the charger location and parking area
- Load-calculation documentation and panel information
- Installer credentials, product specifications, and inspection scheduling
Your utility may impose separate approval steps when service capacity changes or demand-response programs apply. Check whether rebates require preapproval, approved equipment, or post-installation verification. Climate considerations can affect permit documentation for outdoor equipment and protective enclosures. Track efficiency metrics through compatible utility programs, but don’t energize the connector until the required inspection passes.
Local Electrical Code Compliance
Beyond obtaining approval, a Tesla Wall Connector installation must comply with the electrical code adopted and enforced by your local AHJ, typically based on the National Electrical Code (NEC) with local amendments. Your electrician should verify conductor sizing, overcurrent protection, grounding, disconnect requirements, equipment listing, and working-clearance rules. Because EV charging is a continuous load, the circuit must support 125% of the configured charging current. You’ll also need compliant routing and protection for wiring in garages, exterior walls, or underground runs.
Local amendments may require surge protection, GFCI protection, load calculations, or specific mounting heights. Address reliability concerns by using listed equipment, torqueing terminals to manufacturer specifications, and labeling the dedicated circuit. If service capacity is limited, utility coordination may be necessary before upgrades or load-management equipment is installed. Final inspection confirms the installation operates safely and legally.
Tesla Wall Connector Installation Cost
Tesla Wall Connector installation costs typically range from about $500 to $2,500 or more for labor and electrical materials, excluding the connector itself. Your price depends on panel capacity, circuit length, conduit routing, and whether you need a service upgrade. A licensed electrician should size conductors, overcurrent protection, and grounding equipment to match the configured amperage and applicable code.
Key cost drivers include:
- Dedicated breaker, copper conductors, and weather-rated conduit
- Main-panel upgrades, load-management equipment, or trenching
- Permit fees and regional labor rates
You can reduce surprises by requesting an itemized quote that identifies electrical scope, not just a flat installed price. Don’t compromise on listed equipment or protective devices; high-power EV charging requires reliable thermal and fault protection. Built-in connectivity supports firmware updates, while thoughtful placement encourages charging etiquette among household drivers.
Installation Day, Inspection, and Final Setup
On installation day, your licensed electrician will de-energize the panel, verify voltage and available capacity, install the dedicated EV charging circuit, and mount the Wall Connector according to its listing, manufacturer instructions, and local code. They’ll use correctly sized conductors, an appropriate breaker, and approved raceways or cable methods. Your installation day progress should include torque verification, grounding and bonding checks, and confirmation that required working clearances remain unobstructed.
Before energizing, the electrician will inspect terminations, test circuit voltage, and configure the Wall Connector through the Tesla app or commissioning interface. You’ll then schedule any required municipal inspection; don’t operate the unit until approval if your jurisdiction requires it. For final setup expectations, confirm charging current, Wi‑Fi connectivity, access controls, and vehicle charging performance. Keep permits, inspection records, and installation documentation for future service.
Frequently Asked Questions
Can I Use the Wall Connector With Non-Tesla Electric Vehicles?
Yes, you can use a Tesla Wall Connector with some non-Tesla EVs, depending on non tesla compatibility and regional charging standards. In North America, choose a Universal Wall Connector with J1772 support or use an approved adapter. Verify your vehicle manufacturer’s guidance, connector ratings, and adapter certification. You must install equipment under applicable electrical codes, use a dedicated circuit, and avoid uncertified adapters to maintain safe, reliable charging at home.
Does the Tesla Wall Connector Work During a Power Outage?
No—during a utility outage, your Tesla Wall Connector won’t charge your vehicle. Why? It requires energized grid power and doesn’t operate as a backup power source. The “does not apply” exception is when you install code-compliant, properly engineered backup power, such as Tesla Powerwall with a supported configuration. Non applicable setups include unsafe generator backfeeding or improvised transfer wiring. You should use listed equipment, approved transfer controls, and a qualified electrician.
Can I Control Charging Remotely Through the Tesla App?
Yes, you can control remote charging through the Tesla app when your vehicle has cellular or Wi‑Fi connectivity. App integration lets you start or stop charging, set charge limits, schedule off-peak sessions, and monitor energy use. You can also receive charging-status alerts. For reliable operation, keep your Wall Connector on a compliant dedicated circuit and maintain your home network. During an outage, controls remain visible, but charging requires available power.
Is the Tesla Wall Connector Weatherproof for Outdoor Installation?
Yes, you can use a Tesla Wall Connector for outdoor installation when you follow its weatherproof rating and local electrical codes. Its NEMA 3R enclosure resists rain, snow, and windblown debris, but you should mount it securely on a suitable surface. Use approved outdoor-rated wiring methods, proper conduit, and sealed fittings. Have a licensed electrician verify grounding, circuit protection, clearances, and manufacturer instructions before energizing the unit safely.
What Warranty Comes With a Tesla Wall Connector?
You typically receive a four-year limited warranty with a Tesla Wall Connector, covering defects in materials and workmanship under normal use. You’ll need to retain proof of purchase and follow Tesla’s documented installation prerequisites to preserve warranty coverage. Use a qualified electrician, install dedicated overcurrent protection, and comply with local electrical codes. The warranty generally excludes damage from misuse, unauthorized modifications, improper wiring, accidents, or environmental conditions beyond specified operating limits.
Conclusion
Before you install a Tesla Wall Connector, verify your service capacity, panel space, circuit sizing, wiring method, grounding, and local permit requirements. A licensed electrician can calculate your load, install the correct breaker and conductors, and coordinate inspection. Don’t treat EV charging like a standard outlet—it draws sustained power like a major appliance running for hours. With a code-compliant installation, proper commissioning, and Tesla app setup, you’ll charge safely, reliably, and at the fastest rate your home supports.