



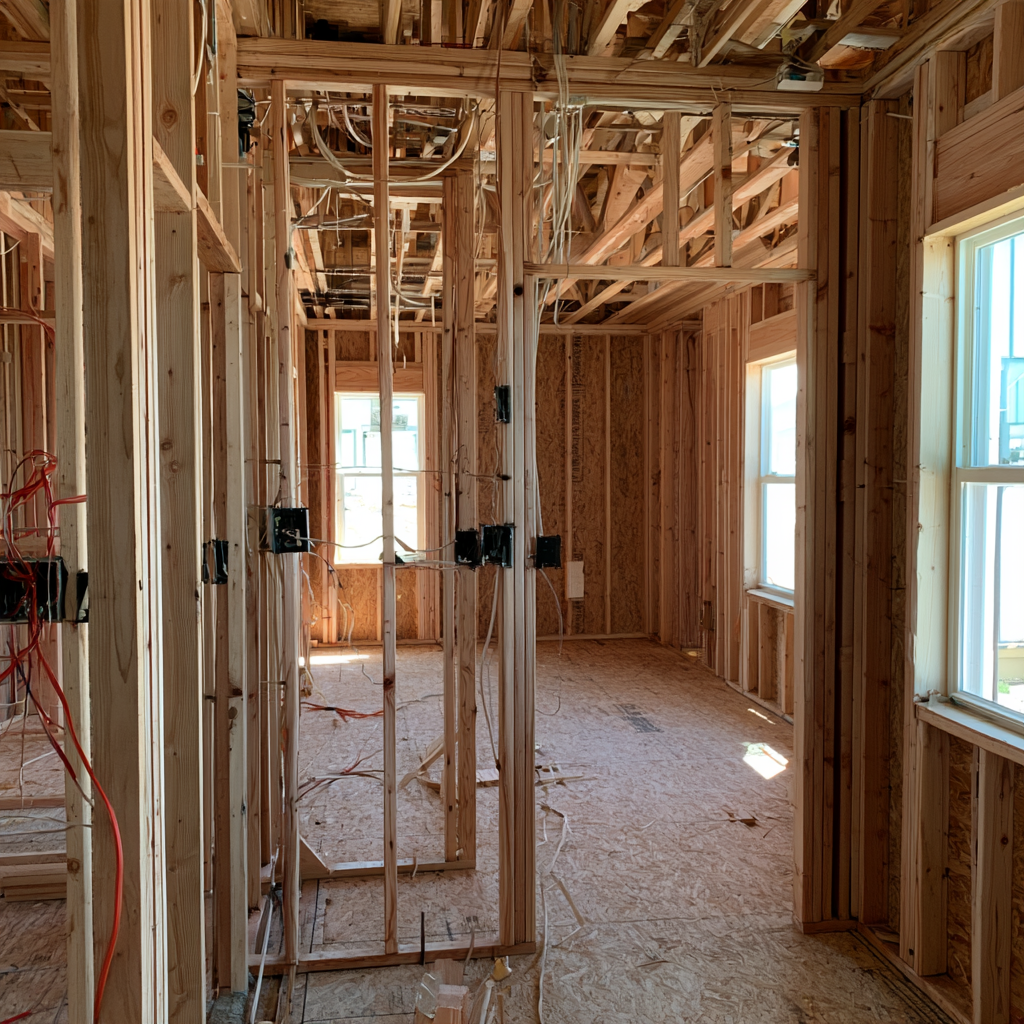
During a whole-house rewire, you’ll start with an electrical assessment of your panel, circuits, grounding, outlets, and visible wiring. Your electrician will map loads, obtain permits, plan temporary shutdowns, remove unsafe legacy wiring, and install properly protected new cables, boxes, breakers, AFCI/GFCI devices, and grounded outlets. Expect limited wall access, dust controls, and intermittent power interruptions. The project ends with safety testing, inspection, labeling, cleanup, and compliance documentation. Here’s what each phase involves.
Signs You Need a Whole-House Rewire
How do you know when repairs aren’t enough? Watch for warning signs that your system can’t safely support modern living. In older homes, old wiring—especially pre-1950s knob-and-tube—often lacks grounding and creates unsafe wiring conditions. Repeated breaker trips, blown fuses, or lights that dim when HVAC equipment or a microwave starts indicate overloaded or undersized circuits. Stop using outlets that smell burnt, feel warm, or show charring; these conditions demand prompt action.
A whole house rewire can replace aging conductors, add new wiring for high-demand technology, and modernize the electrical panel. It also supports code-compliant protection, including Ground Fault Circuit devices where required. If you rely on two-prong outlets or lack current AFCI/GFCI safeguards, rewiring delivers a safer, more resilient electrical foundation for connected devices, efficient appliances, and future upgrades.
How Electricians Assess Your Existing Wiring
An electrician begins by inspecting your visible wiring routes for age, condition, routing, and unsafe materials. They evaluate your panel, breakers, grounding, and circuits for capacity and required GFCI/AFCI protection. Load and safety tests reveal whether your system can reliably support current use and planned upgrades without code or shock hazards.
Visual Wiring Inspection
Before any rewiring plan begins, a licensed electrician performs a systematic visual inspection to identify hazards, obsolete materials, and circuits that may not meet current code. This visual wiring inspection gives you a data-driven starting point for House rewiring and verifies how your existing electrical system aligns with local building codes.
- Survey rooms, attics, basements, and crawlspaces for visible electrical wiring routes.
- Identify two-prong outlets, aluminum conductors, knob-and-tube, brittle insulation, and heat damage.
- Check splices, box entries, and the main panel area for corrosion, arcing, or loose connections.
- Document photos, routing, flickering, and trip history; testers confirm grounding only after power is de-energized.
Your licensed electrician records findings so the rewiring process targets unsafe components. Any wiring retained must be thoroughly tested and code-appropriate.
Panel And Circuit Evaluation
With the visual inspection documented, your licensed electrician evaluates the main panel and each circuit to determine whether the system can safely support your home’s current and planned electrical loads. They inspect the consumer unit’s age, condition, overheating evidence, and breaker ratings, identifying whether additional dedicated circuits are needed for modern kitchens, baths, laundry, and smart appliances.
Next, they review existing wiring, including knob-and-tube, mixed cable, or aluminum wiring prone to loose connections from expansion and contraction. A circuit-by-circuit audit confirms breaker sizing, grounding, outlet types, and compatibility with protected devices (GFCI/AFCI). They map accessible cable routes through attics, basements, crawl spaces, and openings, noting damaged insulation, poor support, arcing indicators, or missing grounds. These documented findings guide a code-compliant modernization plan that improves capacity, reliability, and future-ready electrical load management.
Load And Safety Testing
Electricians begin load and safety testing by mapping every circuit and calculating the demand from lighting, kitchen small-appliance circuits, HVAC equipment, laundry loads, and planned additions such as an EV charger. This load assessment confirms whether breaker sizes and old wiring can support evolving electrical loads under regulations and safety requirements.
- Continuity checks verify reliable conductor paths and bonding.
- Earth-fault loop impedance confirms faults will disconnect promptly.
- RCD trip testing validates shock protection response times.
- Insulation-resistance testing identifies leakage, damaged insulation, and overheating risks.
They also verify polarity and inspect aluminum terminations, where expansion can create high-resistance connections. Flickering lights, tripping breakers, or warm outlets can indicate failure. Your electrician compares all safety tests with current code, then recommends targeted repairs or replacement. You’ll receive certification documenting compliant measured outcomes before reconnection.
Planning Your Whole-House Rewire
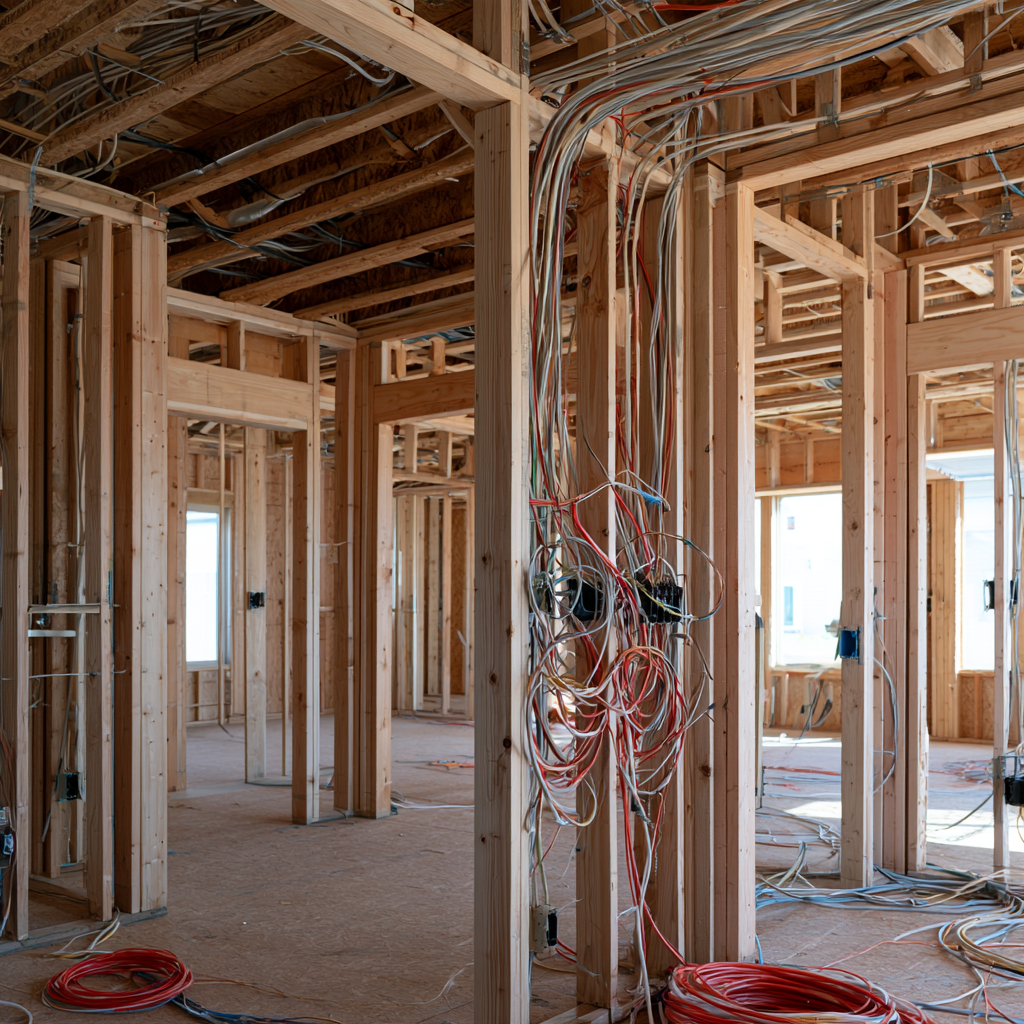
A whole-house rewire starts with a licensed electrician’s detailed assessment of your panel or consumer unit, existing cables, and every circuit. You’ll map the whole system room by room, noting ungrounded outlets, overloaded power-strip zones, appliance loads, and future upgrades such as EV charging.
Your electrician converts this data into a code-compliant circuit plan for your home’s electrical system, separating lighting from dedicated kitchen and major-appliance circuits. Together, you’ll define the rewiring project scope, accounting for lath-and-plaster walls, aluminum or knob-and-tube wiring, and limited access spaces. The process should specify AFCI/GFCI protection, circuit labeling, and whether you need a new panel and each circuit breaker upgrade. Confirm local codes early: this work commonly requires permits and documented testing before the final inspection. A precise blueprint supports safer installation, scalable energy use, and straightforward future troubleshooting.
Permits, Scheduling, and Home Preparation
Before work begins, secure the required electrical permits and confirm the inspection sequence with your contractor and local authority. Early coordination keeps your whole-house rewiring code-compliant and reduces delays.
- Align scheduling around floor and wall access, cable installation, and the rough-in inspection before surfaces are closed.
- Complete home preparation by moving furniture, protecting floors, and installing plastic sheeting to isolate dust-sensitive zones.
- Confirm work hours and the power plan, so you’ll know which rooms may have temporary service interruptions during each phase.
- Identify who handles drywall or plaster repairs, then schedule patching and painting after the final inspection approves devices, panel work, and testing.
Treat inspections as quality gates: they verify safe routing, secure connections, and modern circuit design. Document approvals, protect access paths, and keep your project moving with fewer surprises.
Power Shutdown and Old Wiring Replacement
Your electrician will shut down affected circuits at the main panel and verify they’re de-energized with approved voltage testing before any work begins. You’ll see obsolete knob-and-tube, ungrounded, or aluminum wiring removed where required, eliminating known shock and fire risks. New code-compliant circuits are then routed, secured, and properly grounded as power is restored section by section.
Safe Power Shutdown
For a whole-house rewiring project, a licensed electrician shuts off the affected circuits at the main panel and verifies absence of voltage with an approved tester—not merely the breaker’s position—before opening any wiring. You’ll know your electrical safety plan is active before old conductors are handled or new wiring is installed.
- Lockout/tagout devices prevent anyone from restoring power unexpectedly.
- Your electrician isolates only necessary House circuits when practical, minimizing disruption.
- Knob-and-tube and aging aluminum wiring demand careful identification because ungrounded paths and loose connections can overheat.
- Removed wiring comes out of walls and ceilings; abandoned “dead” wires can violate code and create concealed hazards.
Each time your electrician opens, tests, or reconnects a circuit, they confirm it remains de-energized. This disciplined workflow supports modern, resilient rewiring while protecting you, your home, and the installation.
Removing Legacy Wiring
Once the affected circuits are shut down at the main panel, a licensed electrician verifies they’re de-energized with an approved voltage tester before disconnecting or pulling any old conductors. You’ll see professional electricians prioritize codes and safety while removing old, legacy wiring from outlets, switches, attics, basements, and crawl spaces.
They identify knob-and-tube and aluminum branch wiring, both of which can create a fire hazard through ungrounded components, overheating, or loose connections. They also assess signs of overloaded circuits. To remove cables correctly, they open targeted access points and carefully extract wires through wall cavities, ceilings, and framing routes. They don’t leave abandoned conductors hidden in place, since that can violate code and complicate future smart-home upgrades. Controlled removal creates a cleaner, safer infrastructure for the project’s next phase.
Installing New Circuits
With legacy conductors removed, the electrician shuts off the affected circuits at the main panel, applies lockout protection when needed, and verifies zero voltage with an approved tester before installing new wiring. This protects your home, supports the permit process, and establishes safety and compliance for a modern electrical system.
- Code-compliant cable runs from the upgraded panel to correctly placed boxes.
- Your electrician secures and labels conductors at both ends for future service.
- Neutrals and grounds remain separately terminated, preventing hazardous faults.
- Circuit Interrupters and final tests confirm dependable protection and performance.
For Homes Wiring upgrades, your local electrician replaces obsolete aluminum or knob-and-tube connections with grounded branch circuits. They then test continuity, polarity, insulation resistance, loop impedance, and RCD operation before energizing the system. This detail-driven approach gives you scalable capacity for smart technology and safer everyday use.
Running New Cables Through Walls and Ceilings
After the electrician shuts off the circuit and confirms it’s de-energized with appropriate testing equipment, they open only the access points needed to map safe routes through walls, ceilings, attics, or crawlspaces. Your qualified electrician uses fish tape, wire pullers, and precision drilling to guide approved cable through framing without sharp edges, heat sources, or excessive bends. Strategic drywall holes, attic openings, and crawl spaces minimize disruption while supporting a cleaner, future-ready electrical setup.
They secure each run with code-required staples or clamps, maintaining practical slack for dependable connections. At locations for outlets and switches, they install properly supported boxes and abrasion-resistant connectors. Rewiring services may remove obsolete knob-and-tube or aluminum wiring from shared cavities. Before surfaces close, inspectors verify the rough-in meets applicable code and safety standards.
Upgrading the Panel, Circuits, and Outlets
Because modern electrical demand can quickly exceed an older service’s capacity, your licensed electrician typically evaluates and upgrades the main panel before adding new branch circuits. Upgrading the panel helps your home handle modern electrical loads safely.
- Replace an outdated fuse box; replace them with new breakers matched to your new electrical design.
- Separate 15A lighting from 20A kitchen loads, with dedicated circuit capacity for modern appliances, HVAC, and EV charging.
- Install grounded outlets, plus code-required GFCI and AFCI protection in applicable locations.
- Match each type of wiring to its breaker and label circuits clearly for future service.
Your electrician won’t merely reduce energy bills; they’ll build scalable infrastructure for smart technology. Call a Licensed electrician to confirm service capacity, outlet placement, and code-compliant protection before walls close.
Testing, Final Inspection, and Cleanup
Before your rewiring project is finalized, your electrician performs thorough safety and performance tests on every circuit. Extensive testing confirms continuity, polarity, insulation resistance, RCD trip performance, and earth-fault loop impedance meet current code requirements. They also complete functional testing, verifying that your lights, switches, outlets, and smart-ready circuits operate reliably.
Before the f inal inspection, your electrician verifies breaker connections and circuit labeling, allowing the inspector to trace each circuit accurately. You’ll receive an EIC or equivalent compliance document only after passing results confirm the installation meets applicable standards. Cleanup follows second-fix preparation, with controlled dust management and final debris removal completed before full restoration. After approval, you can resume normal power use. Confirm each device works correctly, and report any tripping, burning odors, or warm wall plates immediately.
Frequently Asked Questions
How Hard Is It to Rewire an Entire House?
Rewiring an entire house is demanding, technical work that you shouldn’t treat as DIY. You’ll navigate permit requirements, safety standards, electrician selection, wiring materials, and circuit planning while managing a significant disruption level. Modern upgrade options can add smart controls, EV capacity, and efficient lighting. Your electrician must complete a rigorous testing process, inspections, labeling, and documentation. Choose a licensed professional who provides clear aftercare support for future troubleshooting and system changes.
How Long Does It Take to Do a Full House Rewire?
A full house rewire usually takes 5–10 business days, though complex older homes can take longer. Prioritize Safety first through licensed contractor selection and code-compliant permitting process steps. Your timeline planning should account for disruption level, targeted outages, temporary power, and old-wire removal. Maintain homeowner communication, build a budget contingency, and coordinate inspection scheduling early. You’ll regain circuits progressively as electricians test, certify, and commission each completed section.
How Much Should a Full House Rewire Cost?
You should budget $8,000–$30,000 for a full house rewire, with many Reno-area projects costing $12,000–$20,000. Your budget cost factors include Electrical upgrade options, new circuit planning, panel replacement, cable routing challenges, permit requirements, and smoke detector updates. Expect added costs for older aluminum or knob-and-tube systems. Prioritize safety compliance over shortcuts; they reduce troubleshooting risks despite a disruptive timeline and support smarter future-ready electrical capacity.
What Are the Steps Involved in Rewiring a House?
You’ll rewire your home like rebuilding its nervous system: map circuits, assess Safety risks planning permits, and choose qualified professionals using electrician selection criteria. Create a temporary power setup, include budget contingency planning, and complete cable route mapping. Install new panels, boxes, and future expansion wiring, then conduct testing and commissioning. Maintain homeowner communication updates, secure compliance documentation, and don’t energize circuits until inspections confirm code-compliant, verified operation.
Conclusion
A whole-house rewire gives your home a safer electrical backbone, like replacing a frayed rope bridge with a secure steel span. You’ll plan around permits, outages, wall access, inspections, and cleanup, but licensed electricians will follow current code requirements at every stage. Before work begins, protect valuables, confirm your circuit needs, and ask about schedules and repairs. When testing is complete, you’ll have dependable power, properly grounded outlets, and peace of mind.


