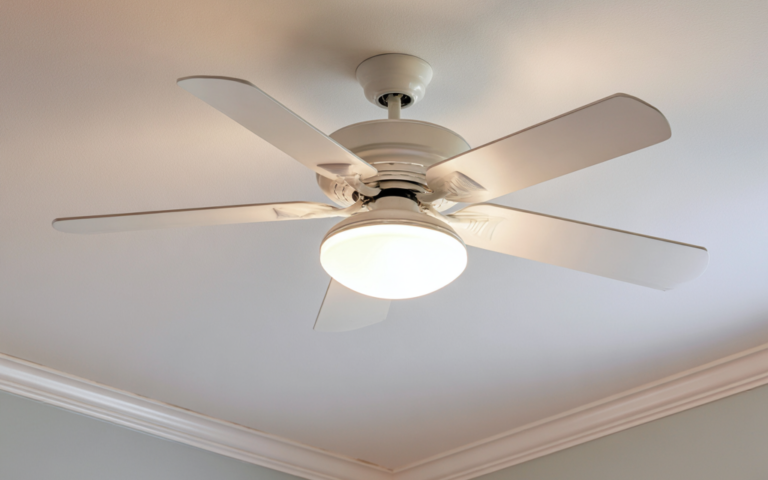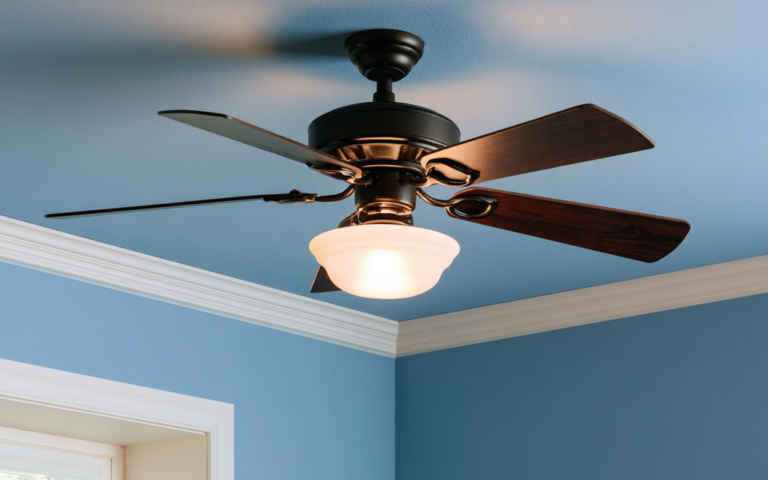
Professional ceiling fan installation is essential for high and vaulted ceilings because you need the fan sized, mounted, and wired to match the room’s geometry. A pro can select the right 60–72 inch fan, slope kit, and downrod so the blades stay level, clear the ceiling, and move air through the occupied zone. They’ll also verify the fan-rated box, wiring, and support to reduce wobble, noise, and safety risks. There’s more to get right than you might think.
Why Ceiling Fan Installation On High Ceilings Matters
On high and vaulted ceilings, ceiling fan installation matters because warm air naturally collects near the top, and a properly sized fan has to move enough air to disrupt that stratification and improve comfort below. You need professional ceiling fan installation in a vaulted room because high ceilings demand more airflow than standard layouts. A larger blade span, often 60–72 inches, helps the fan reach the occupied zone instead of just stirring air near the ceilings. A fan rated electrical box and secure electrical connections protect against load, wobble, and vibration. A downrod lowers the fan to the right clearance, improving performance and safety. When vaulted ceilings need efficient HVAC support, precise mounting keeps the fan stable, quiet, and effective over time.
How Vaulted Ceilings Change Fan Installation
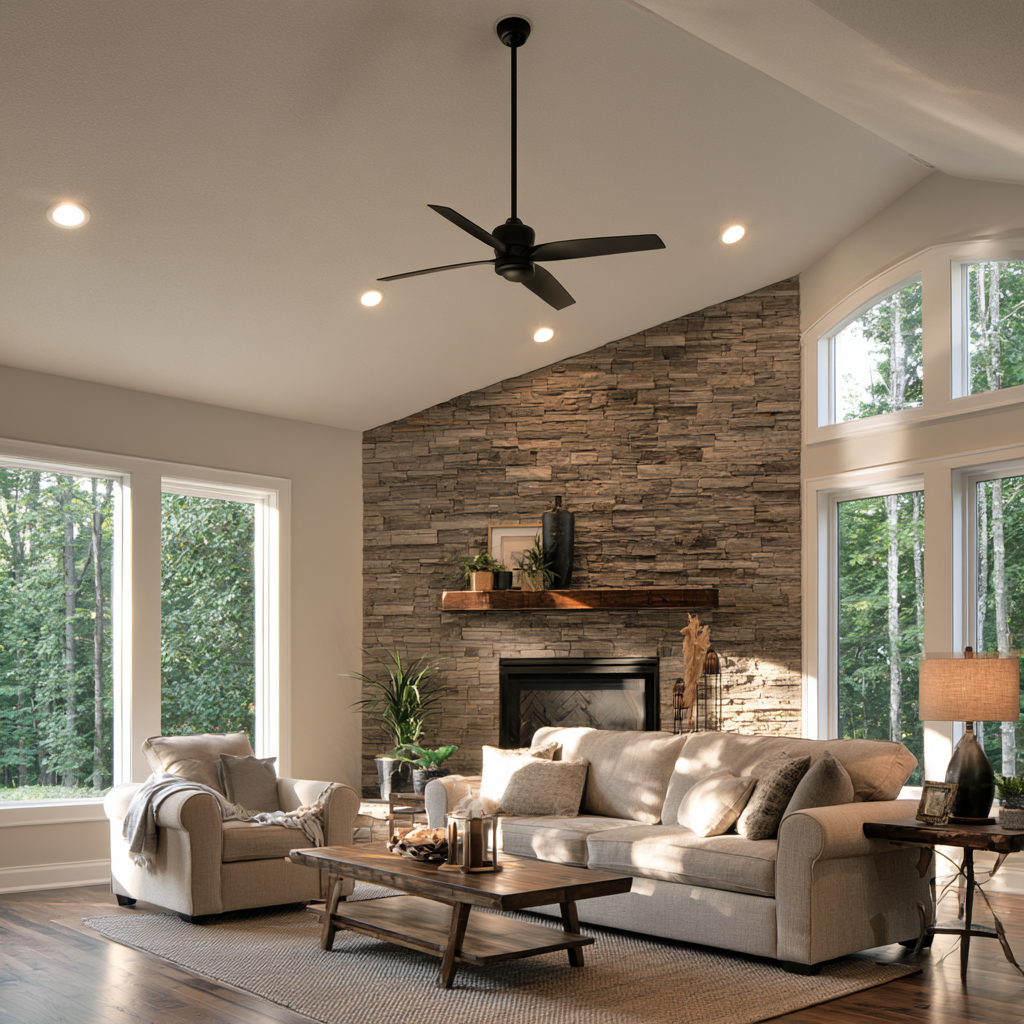
Vaulted ceilings change your installation because you’re mounting the fan on a slope, so you’ll need a compatible angled-ceiling kit and, in many cases, a longer downrod to keep the fan level. You also have to verify fan-rated electrical support, since standard ceiling boxes often aren’t designed for the added weight and torque. Set the fan so the blades maintain safe clearance and effective airflow, typically about 8–9 feet above the floor with at least 7 feet of blade clearance.
Sloped Mounting Requirements
When you install a fan on a vaulted or cathedral ceiling, you need slope-rated hardware—typically a slope ceiling kit or angled mount—so the motor hangs level and the blades stay balanced under load. In vaulted ceiling fan installation, select an angled ceiling mount matched to the sloped ceiling angle and the fan-rated electrical box before any electrical work. Check manufacturer limits; many units tolerate only 30–45°, and steeper pitches demand approved adapters. Pair the mount with the correct downrod length so airflow stays horizontal, not tipped into the peak.
- precision-aligned canopy
- balanced blade sweep
- steady, quiet rotation
- controlled room-wide airflow
- safer suspension geometry
Clearance And Support Needs
A vaulted ceiling changes fan installation because you have to verify both clearance and support before you mount anything. You need enough blade clearance from walls, beams, and trim, and you should target 7 feet minimum, with 8–9 feet often giving better airflow. On a sloped or angled ceiling, you’ll usually need a slope-compatible mounting system and the right downrod so the fan hangs level. The ceiling box must be fan-rated electrical box or tied into approved structural support; a standard light fixture box can’t handle the weight or torque. Fans often wobble when support or pitch is wrong, creating electrical and mechanical hazards. If you can’t confirm framing, wiring, or the ceiling box rating, pause the job and verify it first.
Check The Ceiling Box, Wiring, And Support
Verify the ceiling box, wiring, and structural support before you hang the fan. You need a fan-rated ceiling box anchored to framing, not a light box that can’t manage torque or vibration. Inspect the wiring for correct gauge, tight connections, and unbroken insulation; aging conductors can pass a light load but fail under fan demand. For a sloped ceiling or angled ceiling, confirm the mounting hardware matches the pitch and that the downrod keeps the fan level for proper installation.
- Joist or beam grip
- Fan-rated support plate
- Clean, intact wiring jacket
- Slope-compatible mounting hardware
- Straight, stable fan path
Your electrician should verify load capacity, because visual checks won’t prove safety. With the right support, you reduce wobble, noise, and risk while protecting performance.
Choose The Right Downrod And Sloped Kit
For cathedral and vaulted ceilings, you’ll need a downrod long enough to place the fan roughly 8–9 ft above the floor while still maintaining safe blade clearance, and the exact length should follow the manufacturer’s model-specific guidance. Match the downrod to your ceiling height, not guesswork, because a fan on a vaulted surface needs precise geometry for stable airflow. Check the ceiling angle and confirm the model’s slope rating before you buy; many fans only suit moderate pitches. On sloped ceilings, install the correct angled mounting adapter so the fan hangs plumb, stays quiet, and keeps blades parallel to the floor. Route wiring through the downrod exactly as directed, verify local codes, and choose only rated hardware for proper, safe suspension.
Best Fan Types For Vaulted Ceilings
When you’re choosing a fan for a vaulted ceiling, go with a large, high-airflow model—typically 60 to 72 inches—to move air through the full room height and reduce heat stratification. Prioritize DC-motor fans with a large blade profile, because they deliver strong torque, efficient output, and better control in vaulted ceilings. For sloped or angled installations, choose fans and lighting rated for the pitch, so the canopy stays level and airflow stays even. Check CFM capacity; aim for 6,000 to 9,000+ for tall spaces.
- Sleek 72-inch blade sweeping a bright loft
- Minimalist DC motor housing above a beam
- Angled canopy aligned to the ceiling pitch
- Downrod/adapter needs set for best height
- Integrated fans and lighting balanced for clearance
Prevent Wobble, Noise, And Vibration
To prevent wobble, noise, and vibration in a vaulted-ceiling fan installation, make sure the fan is mounted to a fan-rated electrical box and aligned with the ceiling pitch using the correct slope-ceiling kit or angled mount. You should use the manufacturer-specified downrod so the rotation plane stays level, and check that the Ceiling angle matches the hardware. Precision-balanced Fans need tight fan blades because loose blades add noise and motor strain. Maintain proper clearance from the floor and nearby walls to avoid airflow turbulence and knocking. After installation, verify wiring integrity and canopy tightness, since loose parts can trigger vibration in tall rooms. Right ceiling fan installation also prevents wobble in fans without proper support. This disciplined, innovative approach keeps operation smooth and safer.
Add Wall Controls For Safer Operation
Adding a wall control gives you a safer, more practical way to adjust speed and shut the fan off in high or vaulted rooms, without relying on pull chains or a remote that can get misplaced. Use hardwired wall switching for safer operation and remote-free convenience in ceiling fan installation on vaulted ceilings.
- A tall ceiling keeps controls out of reach
- A wall control sits at normal switch height
- Pull chain avoidance reduces risky stretching
- Overhead wiring stays easier to isolate if trouble starts
- Consistent speed helps move stagnant air efficiently
When you pair the switch with correct mounting hardware, you cut repeat ladder trips and limit unsafe reaching after installation. That precision supports innovation, improves daily control, and keeps your fan responsive in demanding architectural spaces.
Choose The Right Setup For Your Ceiling
With controls handled at wall height, you can focus on the ceiling hardware itself: choose a fan mounting setup rated for your ceiling pitch, and use a slope ceiling kit or angled mount if the standard canopy won’t keep the fan level. The right professional setup makes choosing a ceiling fan models safer because every ceiling requires careful fan placement, wiring and mounting, and load support. Verify the box is fan-rated or anchored to approved structure, not a standard light box. Match downrod length to keep blades 7–9 feet above the floor, preserve clearance, and improve air circulation. For large vaulted rooms, choose wider blades and higher CFM ratings to move air efficiently. Confirm maximum angle compatibility and all adapter hardware before you start.
Frequently Asked Questions
Do You Need a Special Ceiling Fan for Vaulted Ceilings?
Yes, you often need a special fan for vaulted ceilings. You should choose a model with angle adjustment, a Balanced blade, and approved downrod sizing for your ceiling slope, not a flush mount. This supports airflow optimization, wobble prevention, and safer suspension. A remote control helps with high installs. Before you buy, run a safety checklist and verify the manual’s mounting limits and accessories so you keep performance precise and innovative.
What Are the Best Ceiling Fans for High Vaulted Ceilings?
You’ll want 60–72-inch fans, 4,000–9,000+ CFM, and DC motors. You’ll match room size, check blade pitch factors, and compare airflow performance ratings. You can choose energy efficient options like Matthews Ariella 64 or Maxim Condor 65, or smart fan controls on the Hinkley Indy 72. You’ll verify ceiling fan mounting, downrod sizing tips, noise level considerations, and wet location models for safe vaulted installation.
Are Ceiling Fans Good for High Ceilings?
Yes, ceiling fans are good for high ceilings when you optimize airflow and choose the right size. You’ll get better energy efficiency tips by using larger blades, proper blade angle impact, and strong motor performance. Prioritize mounting safety, wobble prevention, and balancing maintenance so the fan runs smoothly. Remote control benefits and remote dimmer options add convenience, and correct installation ensures peak performance in vaulted spaces.
How Far Should a Ceiling Fan Be From a Vaulted Ceiling?
You should keep your fan 7-9 feet above the floor, maintain proper blade to ceiling spacing, and follow mounting height rules. For vaulted installs, use fan clearance distance, ceiling height guidelines, and downrod measurement to set sloped ceiling placement. You’ll improve airflow positioning, gain airflow efficiency gains, and reduce risk with wobble prevention tips. If the peak crowds the fan, extend the downrod or use a slope kit.
Conclusion
For high or vaulted ceilings, you need the right fan, the right hardware, and the right installation. You’ll get safer support, smoother spinning, and stronger airflow when you check the box, match the downrod, and use the proper sloped ceiling kit. Professional installation helps you avoid wobble, wiring worries, and weak performance. When you choose the correct setup, you’ll enjoy cool comfort, quiet operation, and lasting reliability from ceiling to ceiling.